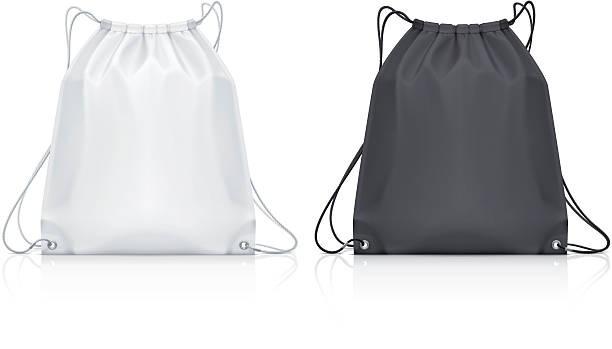
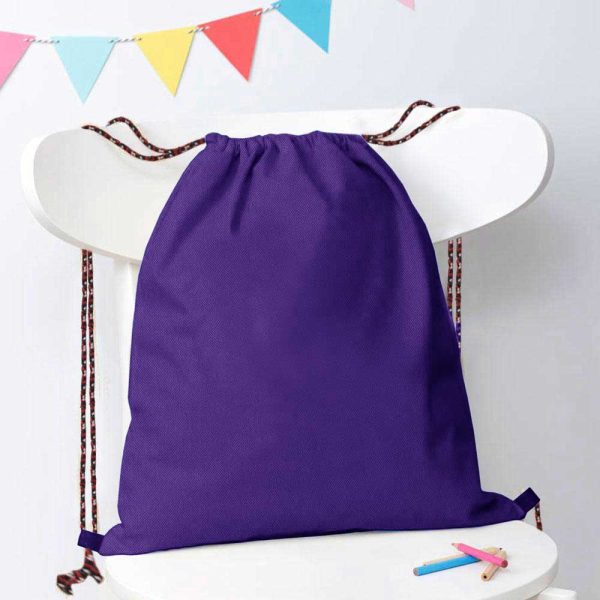
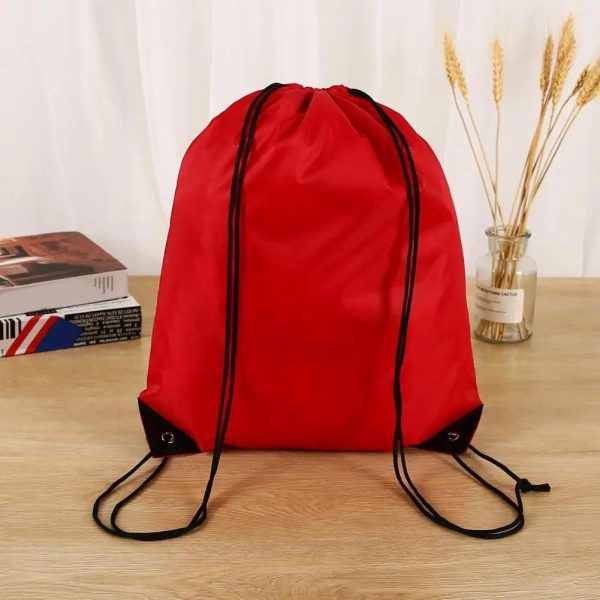
How to Make a Drawstring Backpack: this is the question most people search for day and night. A drawstring backpack is a versatile and practical accessory that can be used for various purposes, from carrying gym essentials to organizing travel items.
Creating your own drawstring backpack allows you to customize the design, fabric, and size according to your preferences. In this step-by-step guide, we will walk you through the process of making a drawstring backpack from scratch.
With basic sewing skills and a few materials, you can create a functional and stylish backpack that reflects your personal style.

Materials Needed
There are certain materials that you need to gather when you search for How to Make a Drawstring Backpack. Before diving into the creation process, gather the following materials:
- 1 Yard of Fabric of your choice
- Coordinating thread
- Scissors
- Sewing machine or needle
- Measuring tape
- Pins
- Safety pin
- Approximately 2 Yard of Cord or ribbon
- Cord stopper
Step 1: Prepare and Cut the Fabric
Once you have all the necessary materials, it’s time to start creating your drawstring backpack. Begin by preparing your fabric. If there are any wrinkles, iron it to ensure a smooth surface. Then, fold the fabric in half, aligning the selvages together. This will create a double layer of fabric.
Using a measuring tape, mark and measure a rectangle with dimensions of 18 x 13 inches on the fabric. This rectangle will serve as the main body of the backpack. Carefully cut along the marked lines, making sure to maintain the folded edge intact.
Next, measure and cut two strips of fabric, each measuring 4 x 20 inches. These strips will be used to create the shoulder straps of the backpack. Additionally, cut two small squares measuring 2 x 2 inches. These squares will reinforce the drawstring openings later on in the process.

Now that you have all your fabric pieces cut to size, you’re ready to move on to the next steps in creating your drawstring backpack. When you search for How to Make a Drawstring Backpack, these steps will come up and are necessary to follow until the end.
Step 2: Sew the Shoulder Straps
Now, let’s move on to creating the shoulder straps for your drawstring backpack. Take one of the 4 x 20-inch fabric strips and fold it in half lengthwise, ensuring that the right sides are facing each other. Use pins to secure the long edge of the strip. This will keep the fabric in place as you sew.
Using a sewing machine or a needle and thread, stitch along the pinned edge, leaving the ends open. Repeat the same process with the second fabric strip. Once both fabric strips are sewn, carefully turn them inside out. This will hide the seam and create a clean and finished look for the shoulder straps.
Use a pencil or the blunt end of a chopstick to push out the corners and ensure they are fully turned. After turning the fabric, give the shoulder straps a thorough ironing. This will help flatten them and give them a polished appearance. Be sure to iron both sides of the straps to achieve a professional finish.

Once ironed, set the shoulder straps aside for now. You will attach them to the main body of the backpack in the later steps of the process. While there are various answers to the question of How to Make a Drawstring Backpack, this is the easiest way to make shoulder straps.
Step 3: Reinforce the Drawstring Openings
Now it’s time to reinforce the drawstring openings of your backpack. Take one of the 2 x 2-inch fabric squares and fold it diagonally, ensuring that the right sides are facing each other. This will create a triangle shape. Pin the two shorter edges together, leaving the longest edge open.
Stitch along the pinned edges, securing the triangle shape. Trim any excess fabric, being careful not to cut too close to the stitching. Once sewn, carefully turn the fabric triangle inside out so the right side is facing outwards.
Use a pencil or the blunt end of a chopstick to push out the corners and create a crisp shape. Press the fabric triangle flat with an iron to ensure a smooth finish. Repeat this process with the second fabric square. Now, take one fabric square and position it on the wrong side of the main body fabric, aligning it with the upper corners of the backpack.
The open edge of the square should face toward the center of the main body. Secure the fabric square in place with pins, ensuring it is centered and aligned. Repeat this step on the opposite side of the backpack with the second fabric square. Your perfect guide to How to Make a Drawstring Backpack should make the process easier, not difficult.
Step 4: Assemble the Backpack
With the reinforced drawstring openings in place, it’s time to assemble the main body of your drawstring backpack. Fold the main body fabric in half, ensuring that the right sides are facing each other. Align the side edges together and secure them with pins.
Starting from the bottom of the fabric, stitch along both side edges, leaving the top open. This will create the main compartment of your backpack. To give the backpack a more structured shape, we’ll create bottom corners. Pinch each corner of the backpack, aligning the side seam with the bottom seam.
Mark a line perpendicular to the seams, approximately 1.5 inches from the corner. This will determine the size of the corner. Stitch along the marked line, creating a triangle-shaped seam. Trim any excess fabric, leaving a small seam allowance to prevent fraying.
Now it’s time to turn the backpack right side out. Carefully push out the corners and press the seams with an iron to flatten them and give the backpack a neater appearance. Next, take the previously prepared shoulder straps and position them on the top edge of the backpack.

Align the ends of the straps with the corners of the backpack. Pin the straps in place, ensuring they are evenly spaced and centered. The main body of your drawstring backpack is now complete, and the shoulder straps are securely attached, ready for the final steps of the construction process.
Our guide to How to Make a Drawstring Backpack will make it easier for you to assemble the backpack.
Step 5: Add the Drawstring Casing
Now it’s time to create the drawstring casing for your backpack. Fold the top edge of the backpack towards the inside, creating a casing that is approximately 1.5 inches wide. This casing will hold the drawstring in place. Pin the folded edge in place to secure it.
Starting from one side seam of the backpack, stitch all the way around the top edge, securing the folded casing. Leave a small opening between the stitches, which will serve as the entry point for inserting the drawstring.
Next, attach a safety pin to one end of the cord or ribbon. Insert the safety pin through the opening of the casing and start threading it through, moving along the entire circumference of the backpack. Keep pushing the safety pin and cord through the casing until it comes out through the opening on the opposite side. Continue pulling the cord until both ends are even.
Read more: A Guide on How to Wash a North Face Backpack
Once the cord is fully inserted, carefully remove the safety pin. Make sure both ends of the cord are outside the casing and extend evenly on each side of the backpack. This is part of our How to Make a Drawstring Backpack guide that will make sure your drawstrings are secure.
Congratulations! You have successfully created your own drawstring backpack. Adjust the length of the drawstrings to your desired fit, and your backpack is ready to be used. Simply pull the drawstrings to close the backpack and secure your belongings.
Optional: If desired, attach a cord stopper to each end of the cord to secure it in place and adjust the length of the drawstrings. Simply slide the cord stopper onto the cord and tie a knot at each end to prevent it from slipping through. This part of our How to Make a Drawstring Backpack guide is optional, and you can switch it with any other accessory.
Conclusion

By following these simple steps, you can create your own drawstring backpack. With a few basic materials and sewing skills, you can design a personalized backpack that suits your needs and style. Experiment with different fabrics, patterns, and colors to create a backpack that stands out from the rest.
Whether you’re headed to the gym, going on a day trip, or simply need a hands-free storage solution, your homemade drawstring backpack will be a functional and fashionable accessory you’ll be proud to carry.
Follow our guide for How to Make a Drawstring Backpack and get the backpack you need without spending too much money on it. You can make sure of your craft and get something perfect in the end as well that you will be proud of.

